Archives

3 things at once

I have friends who have long commented on the fact that I am a multi-tasker and they are not. Despite the fact that I know what all the studies say, that multi-tasking is not efficient, I’ve been doing this since long before that term was coined, and I’m unlikely to stop now.

So here goes…

I got the 8 bumberet towels woven, each with a different weft color.

8 bumberet towels

They all still need to be hemmed and wet finished. I learned from this batch of towels that I like the previous 13-14 colors better than this warp, which is at least 18, maybe 19 colors.

It should come as no surprise to me (but it always does), the 2 remaining blue bumberet from my first batch and the 6 oranges attracted virtually no attention at last weekend’s show. Then again, very little did. The show was poorly attended.

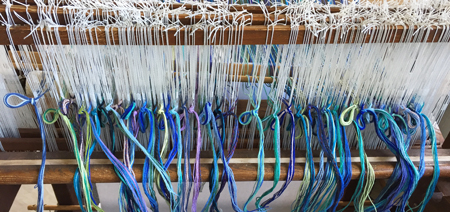
I got an order for a custom baby wrap…my first in many months. So I want to get this woven up and out the door for the moms as soon as possible. Here’s bout 1 on the warping mill.

WC's wrap, bout 1

And bout 2 chained and in the box.

WC's wrap, bout 2

How yummy is that?!

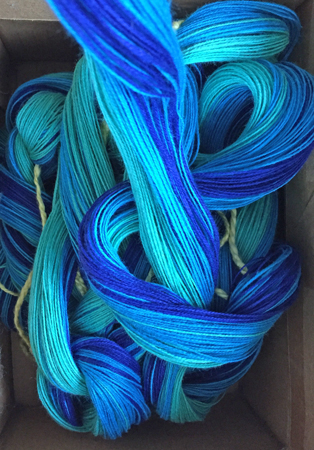
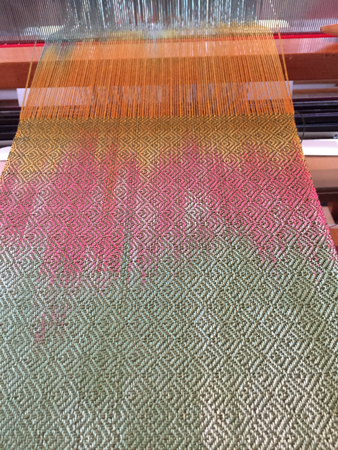
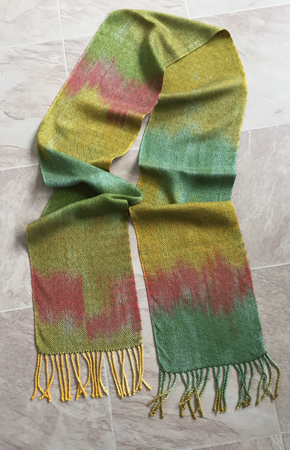
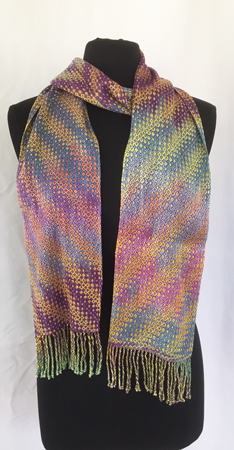
Meanwhile, after much shilly-shallying (how’s that for an ancient phrase?), I decided I want to make a hand-painted tencel warp for my rigid heddle loom for my demo at the show next weekend. Of course, I don’t have such a warp prepared. So I measured out enough length for 2 scarves to hand paint, plus 2 small skeins, each to dye in a solid coordinating color. I’m going to get this done in between the baby wrap, ‘cuz I sometimes need a change of scenery/activity. No pix of the plain white 10/2 tencel. 😉

Winning technique

Wow, wow, WOW!!

A reader who chose to email me instead of commenting suggested that I look at a website who’s owner had a long entry all about removing stray dye, although it’s specific to quilts.

I read the post, and the PDF document with the detailed directions, and honestly, I thought, “that can’t work.”

But today I decided to try it, since it seemed easier than almost anything else. Besides, what did I have to lose?

I modified Vicki’s process just slightly, using a dishpan instead of the tub and soaking the scarf only 4 hours instead of 12. I pulled the scarf out of the water and was amazed. No stray dye! No aura on the stripes! No blobs of dye left from previous!

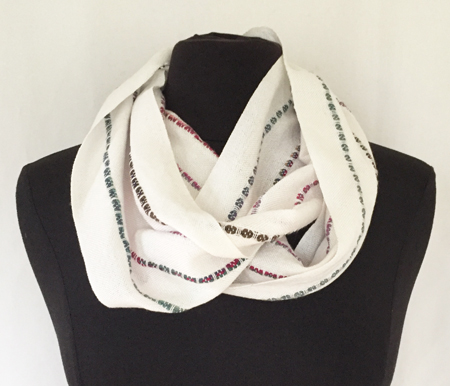
striped scarf, wrapped

So I dried the scarf outside and pressed it. It will come to the show with me this weekend.

Think I might be hiding them there in the wrapping? Nope.

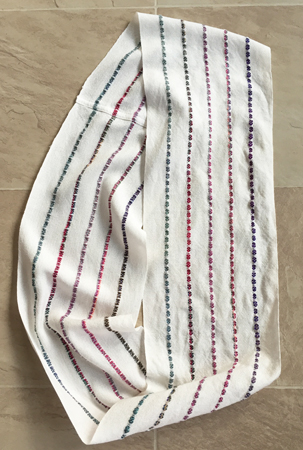
striped scarf, flat

Although it’s sort of impossible to show a whole cowl at once, I assure you that the white is clear white and the colors are all exactly where they belong.

Thanks, Margaret and Vicki!!

Bumming around with bumberet

I am just really in love with the bumberet multi-colored towels. I only have 1 left in the blues and greens of the first batch, and 5 of the orange and red ones. I had hoped to get more blue ones done for my show this weekend, but life has intervened so that won’t happen. They will definitely be ready for my second show, 2-1/2 weeks from now.

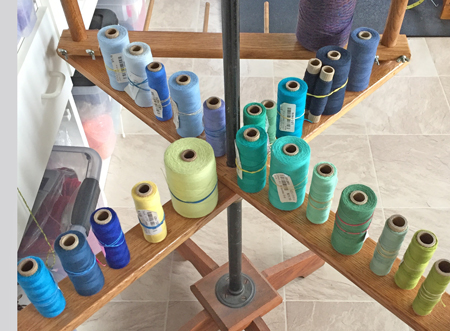
First I got all sorts of colors of thread out and put them on the bottom cross bars of my warping mill. I loved the way they looked here.

bumberet #3, colors

I liked them all, and used most of them plus a bit more, so this run of towels has even more than the 14 colors used in the first batch. Although measuring the warp is very time consuming, I like the results so much that it makes it all worth it for me. This time I warped for eight towels instead of the six I’d done in my first two runs.

Got the warp beamed and the heddles threaded.

3rd bumberet warp threaded

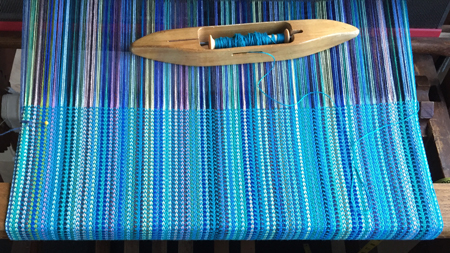
The first towel has a medium blue weft.

 bumberet #3, medium blue weft

Number two has a peacock weft.
bumberet #3, peacock weft

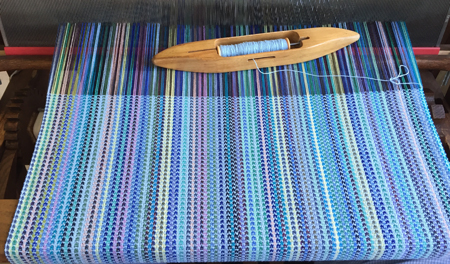
The third towel has a baby blue weft.

bumberet #3, baby blue weft

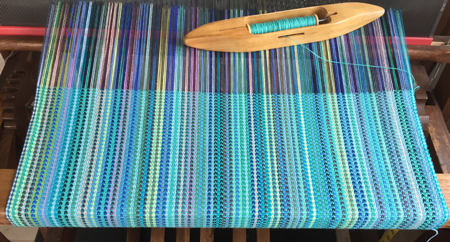
And the fourth, and as far as I’ve gotten, has a turquoise weft.

bumberet #3, turquoise weft

Dye don’ts

Live and learn. And then learn some more. Repeat.

Some of what I learned on this go-round is new to me, some not so much, although a different context.

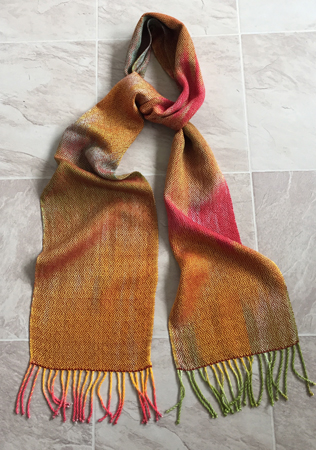
Back in April I hand painted some warps, one of which was based on a painting of a wood duck. (See it here.) I was looking forward to that warp, and wove it in May.

On the loom, I was happy. For a while.

Because I was inspired by the wood duck, I wanted to use a weave pattern that was reminiscent of feathers. And I knew I wanted to use a dark weft to create more of the look of the painting. Apparently I forgot to take a photo of the first scarf, using black weft, while it was on the loom. Suffice it to say that after about a foot I knew it was going to be too dark. I should have simply stopped then, started with a new color weft, and not looked back, but I didn’t. I wove the whole thing with the black weft. Ugh.

wood duck 1 scarf complete

So for the next weft I chose a brownish red. I liked how it was looking on the loom, enjoying both the colors and the weave structure.

wood duck 2 on the loom

I tried a few different wefts for scarf number 3, settling on a sage-y green. You can see here that the painted warp was a bit blotchy. Too many color changes that were too different – not smooth transitions.

wood duck 3 on the loom

That was my new learning with this warp. Think more about how and when the colors shift. I am not proud of this run of scarves, and don’t expect them to sell well.

wood duck 2 scarf done

Nothing I can do about it now.

wood duck 3 scarf done

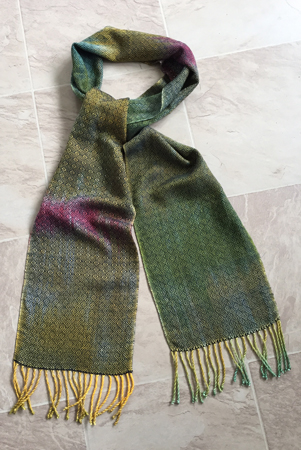
So in my desire to weave more scarves for my upcoming shows, I decided to adapt a pattern I’d looked at several times before, from a Handwoven book, Best of Handwoven Scarves on Eight Shafts.

As my readers know, I usually warp my loom for 3 scarves, but this time I didn’t. I warped for only 1, because I only had enough of the yarn for the stripes for 1 scarf. Boy am I glad that’s what I did.

I wasn’t crazy about the pattern on the loom, but was hoping I’d like it better after wet finishing. Hah!

I was using some professionally hand painted yarns designed for cross stitch, which the web tells me is also used by quilters. Well, as soon as they hit the water those colors ran like mad. I might have been able to predict that, but these were, like I said, professionally dyed yarns – Watercolours by Caron – and I expected professional results. Nothing on the tag about running.

Look at the aura of dye around these yarns after the scarf had dried.

dye seepage

And if that weren’t bad enough, the two sides of the scarf apparently touched each other while they were drying, and one side got a big blotch of pink dye on the white area.

dye blob

I’m holding off on ironing, as the heat will set those colors as is. I’m going to try another hand wash, this time using those magic Color Catcher sheets. I don’t know that they’ll help, but they sure won’t hurt. But this scarf may just be for the scrap bin.

9, 10, but no big fat hen

After my success with my handmade semi-rigid heddle, I thought I was set for the real thing. Yes, the yarns were slightly different, but that shouldn’t present a particular problem. So I measured out the warp I intended to use, beamed it, and threaded it through my new ‘equipment.’

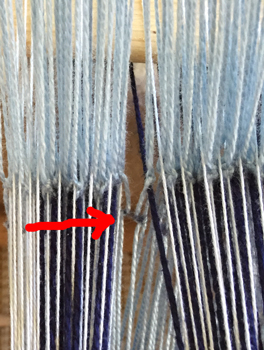
Then the trouble started. I couldn’t get decent sheds. Every single time I was fussing with the threads to get them to separate. Then I realized what the problem was…yarn fuzz.

homemade raddle failing

See the fuzz my arrow is pointing to? It was caused by the simple friction of the yarn, and it caused my string heddles to stick together. The yarns could not move up and down as needed, especially those that weren’t actually in the heddles but rather between them.

I pulled the fuzz out the best I could, but within a few passes of my shuttle they were all fuzzed up again. Clearly another fail. So I cut out the small amount of weaving I’d done and removed that homemade heddle.

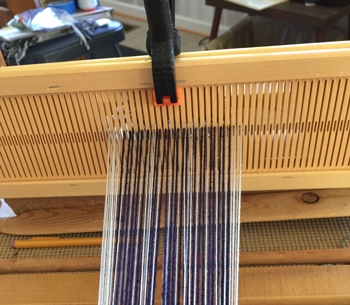
There was only one possibility left: clamp together 2 rigid heddles so my threads would be sett closer together. If this didn’t work, I’d have to give up on the idea. I’ve only clamped 2 heddles together like this a few times before, and threading 2 rigid heddles is a bit tricky. Especially since for this weaving it isn’t a standard threading. But I went slowly and got it done.

double heddle threaded

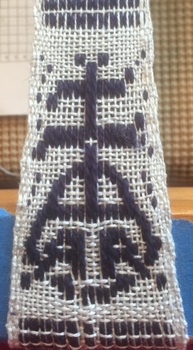
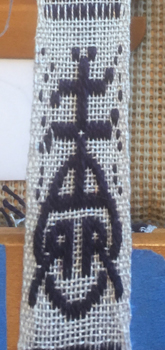
Next was to weave up another logo.

logo attempt 9

I’d put painters tape on my front beam to keep the weaving at the width I believed I needed. But now since I was using 10/2 instead of 8/2 yarn, that 1.5″ was too wide. You can see that I narrowed the width as I wove. That was on purpose to see if I could make it more narrow, and if so, if it would look good. I thought it would work, but wanted to make one good logo before I fully committed to this demo. Allow me to present logo #10.

logo attempt 10

FINALLY!!! Now I can get back to weaving things for my upcoming shows!

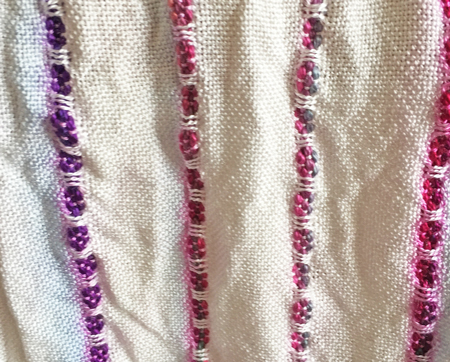
I did realize that there are some things you haven’t seen. So here are the finished pansies scarves. (Scroll down to see the pansies warp) First up is woven with fine dark purple weft, and I changed the direction of the curves at random along its length.

pansies scarf 1

Same weft for the second scarf, but the treadling is all advancing, no curves.

pansies scarf 2

Last I used a black weft. I only had enough length left for a cowl, but it’s plenty long for that. I used a regular repeat for the curves on this one.

pansies cowl

I am happy with them and have gotten compliments, but I wonder if I would have liked them better if I’d left them in stripes instead of doing parallel threading, so that the colors would have stood on their own more. What do you think?

3 pansies stripes on loom