Archives

Missouri Loom Set Up

Lee has acquired a new Missouri loom, and like me when I got mine, has lots of questions about how to set it up. Also like me, she’s finding that there isn’t a lot of info available on it, so I’m trying to assist with photos. So many weavers have been so generous with their time and knowledge for me, I’m happy to do the same for others. I hope this helps Lee, and possibly others with a Missouri loom.

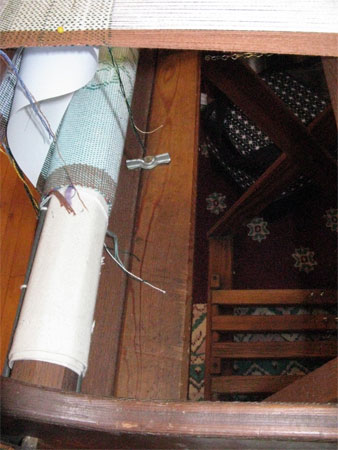
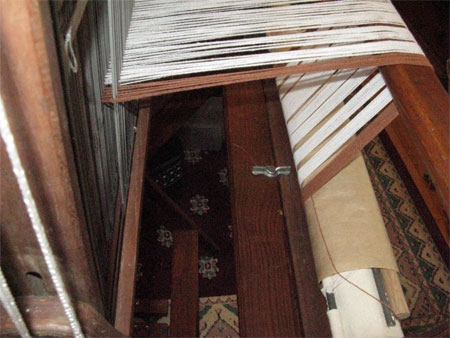
To use it as a floor loom, first you have to set it on its stand. The loom frame goes on the outside of the stand frame and the ‘butterfly’ nuts hold it in place. Here’s the front and back of the loom on the stand.

Missouri loom on stand, front

Missouri loom on stand, back

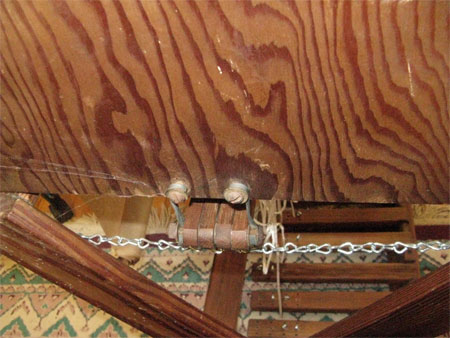
Now look at the left side of the loom (with the breast beam facing you) and you’ll see two bolts and washers. My son added the chain on the frame for me to keep it in place while I worked at set up.
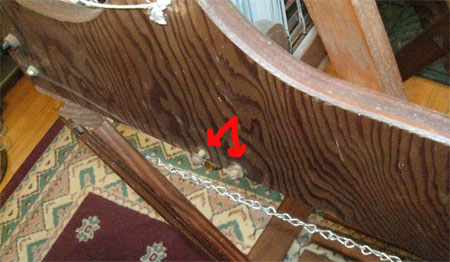
side bolts on Missouri loom

You’ll see two hooks on the end of the bundle of lamms.
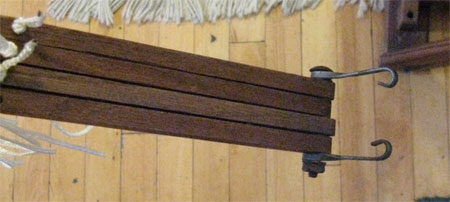
hooks on lamms

Slip the hooks over the bolts.
hooks on bolts, Missouri loom

Now you have your set of 4 lamms attached on 1 end of the loom and hanging on the floor underneath it.

Look at the right side of the loom and you’ll see the cords for the hand levers to move the harnesses.

cords for hand levers

I had to replace all the cords on my loom and after trying a few things, went with Texsolv for them all. This allowed me to have relatively infinite adjustments to all cords and eliminate a tied loop that had been on those side cords.

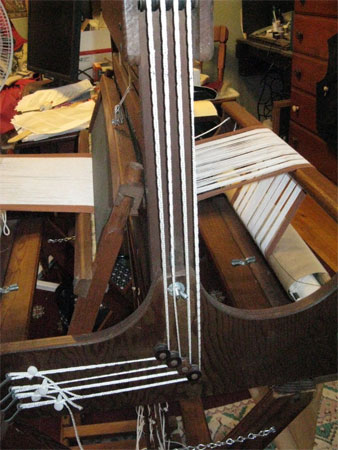
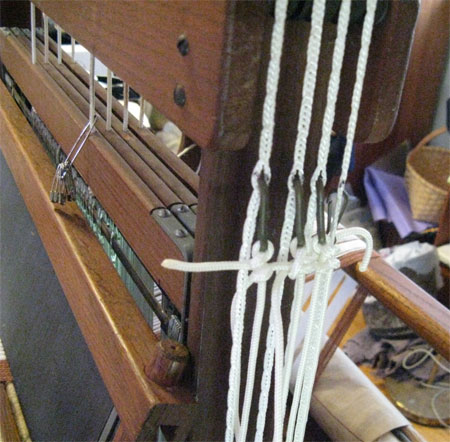
So now hook the cords from the other end of the lamms (away from the hooks on the bolts) to the vertical cords coming from the harnesses. Here’s a distance view and a closeup.
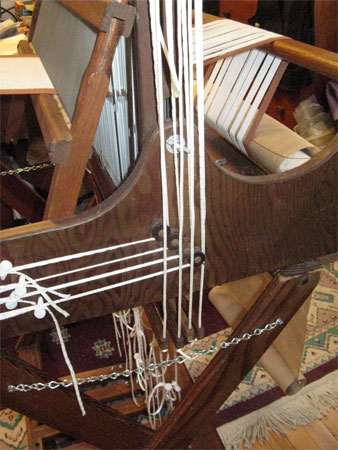
lamms to harnesses

lamms to harnesses, close up

You’ll see that the hooks look old and rusty. They are. I opted to stay with the original hooks since the were clearly strong enough to withstand the strain & tension needed for weaving. I knew I’d have to find a whole different connector if I used new hooks to achieve that same strength.

Once the lamms are hooked to the loom, tie them to the treadles and away you go.

Good luck, Lee! Let me know if I can be of more help.

Golden Maples

I intended to come home from grocery shopping this morning and put a warp of Tammy’s lovely red poinsettia rayon chenille on my loom. But plans change, this time because of nature.

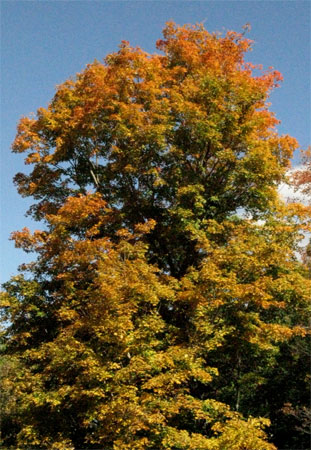
maple tree

This gorgeous maple tree at the top of my driveway called to me yesterday and again today with its beauty. I love the entire tree, and the edge of oranges at the crown are especially beautiful.

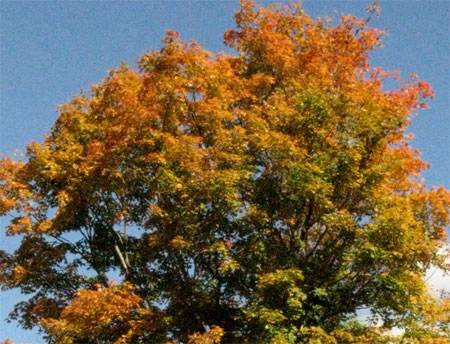
maple top

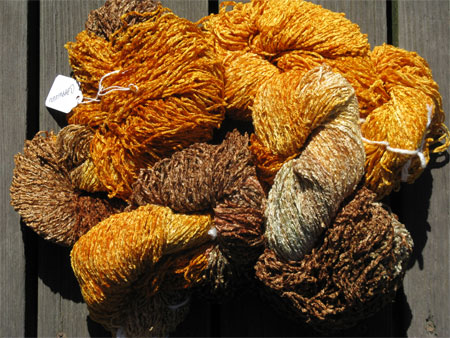
This tree is what changed my mind. Instead I’m going to wind up the skeins of Cappucino & Butterscotch I just received from Tammy and go with these.

cappucino yarn

Perfect for autumn!

A Long-Legged Visitor

On Friday I stood up from the loom to wind some more bobbins. I turned slightly to the right in getting off the stool and something unusual caught my eye – something big and white where it didn’t belong.

I got my binoculars and saw that it was a great blue heron sitting on top of the arbor by my pond.
heron 1

Herons rarely visit my tiny pond, and I’ve never seen one perched on the arbor before. I wanted to get some pix, but knew I couldn’t open the door or a window – heron’s spook very easily. I was limited to taking pictures through the window and a screen. Less than ideal.

heron 2

I tried a few settings on my camera to get the best photos I could.

heron 3

While I have no idea how long this beautiful bird may have been there before I saw him, he took to wing less than a minute after this last shot.

heron 4

How lucky am I that the bobbin ran out when it did?!

Keep on Learning

I do love to learn new things. I know that sometimes I’m resistant, but that’s usually only when someone else, or life, imposes that learning on me. When it’s my idea, I’m all over it.

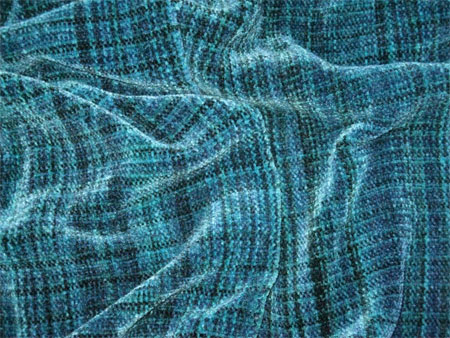
rayon chenille ocean waves handwoven scarves

When I first learned to weave, taking a total of about 12 hours of classes from a man in his 80s who specialized in rag rugs, I knew that I wanted to weave with rayon chenille. He knew nothing about it. My naive self thought it would be just like weaving with any other fiber. Little did I know that rayon chenille presents its own unique challenges and gratifications.

Since then I’ve woven a LOT of rayon chenille scarves & shawls. But still, when I took a class with Su Butler, the goddess of rayon chenille, even though the class was on an entirely different topic, I had to pick her brain. That’s when I learned how Su finishes her rayon chenille.

I totally understand the importance of wet finishing, thanks in large part to Laura Fry. I do wash all my scarves after they come off the loom – generally by hand to save water – and after they’re dry, or almost dry, I give them a hard press. But you can’t do THAT with rayon chenille! A hard press would destroy that luxurious depth of the chenille. So I figured I simply had to let the heat part go.

Not so, said Su! Heat is a must! “Toss those scarves in the washer and the dryer,” she insisted. “But” I protested, “the dryer usually destroys my double-twisted fringes I took so long to make.” Su explained that she never fringes her rayon chenille any more. If I recall correctly, that’s partly in response to changes in what industry has used for core fibers over the years, and partly (I think) a personal preference of Su’s.

Ok, I thought, I’ll give it a shot. So I’ve recently woven a dozen rayon chenille scarves in 4 different warps. I fringed one of them and hand hemmed the others. I tossed them in the washer and dryer as directed.

And they’re all LOVELY! The photo is of Tammy‘s lovely hand painted colorways – Ocean Waves.

Plus, as an added bonus, hand hemming takes me less time than double-twisting. I’ll be interested to get customer’s reactions in October. I’m thinking that the hemmed scarves, particularly in the darker colors, will be more appealing to men. We’ll see.

New weaving technique

I love learning new things and using new-to-me techniques. It was well over two years ago that I read the Dust Bunnies blog when Ngaire used a clasped weft technique to create a to-die-for scarf. Never heard of the technique, couldn’t imagine how it worked, so let it go.

More than a year later I tried some clasped weft with the little pickup pieces I did on my rigid heddle. Never having seen it done I no doubt did it the hardest way possible.

Then when I took Su Butler’s pickup class this spring she showed us how to do clasped weft pretty easily with one shuttle and a cone of yarn on the floor.

All this is leading to my latest weaving.

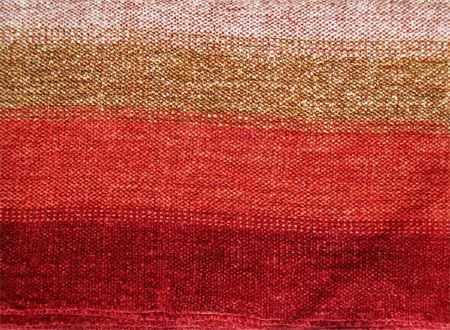
I wanted to do some more color blending, this time with rayon chenille. I wound the warp and got it on the loom (sigh). For the first scarf I used a solid red weft – the same as one end of the warp.

(Note: for these scarves I have purposely not shown you the scarves in all their drapey yumminess. I want you to see the color, not the softness or sheen.)
handwoven scarf, rayon chenile, color blending red weft

I wasn’t crazy about the look of the dark red yarn on the gold or cream warp. This wasn’t what I had in mind.

How would I solve the problem? A solid cream weft might look nice, but it’d totally wash out the darker colors.

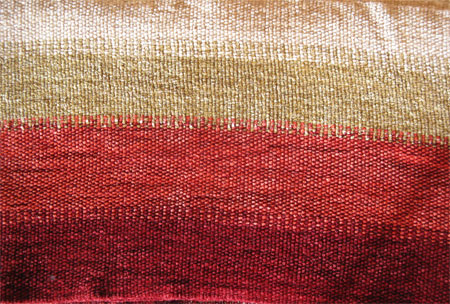
I decided this was the perfect opportunity to use clasped weft! Red yarn in the shuttle, cream yarn on the floor. I’m really happy with the results.

handwoven rayon chenille scarf, color blending with clasped weft

I thought I’d use a solid orange weft for the third scarf on this warp. I wound a bobbin and set off weaving. After about an inch I decided to go another way and unwove that inch. Instead, I wove just over 3″ with each of the 4 colors of yarn I’d used in the warp. I’m happy with this one, too.

handwoven rayon chenille scarf, color blending blocks

The last one happens to be the favorite of my friend Margaret. The clasped weft is mine, but I can’t be sure if it’s because of the look or because I’m proud of my use of the new-to-me technique.

Next I want to try using clasped weft in something a bit more free flowing than this.