It’s not perfect, but it’s definitely better.
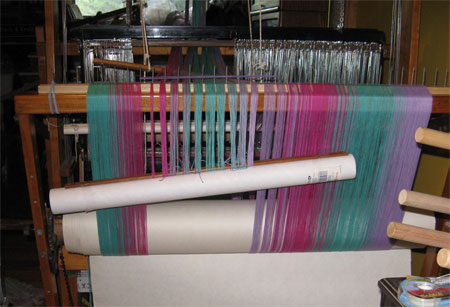
I brought that re-wound bout to the loom, inserted my lease sticks, and put it over the warping valet, just like always. Then I got my cardboard mailing tube and used Sandra Rude’s directions for making and using a supplemental warp beam.
Here I’ve spread the warp in the raddle and across the supplemental beam, then decided I’d done enough for a while – I needed to sit and ponder again.
See how that that tube is on a bit of an angle in the photo above? Well, I THOUGHT I’d straightened that out as I wound, but apparently not. I do wish I’d spent more time on that, ‘cuz now that crookedness is a bit of a pain.
Anyway, unlike Sandra’s directions, I had 200 threads and decided I was going to use warp packing. Also, she doesn’t mention maintaining tension on the warp as she’s winding that beam, and I decided I had to do that, too. So I hung my weights by the warping valet and starting winding. It seemed to be working well. Until my weight got up to the valet bar.
Hmmm… I hadn’t thought this aspect through. How can I move to the front of the loom to move my weight? If I let go of the supplemental beam, the weight will drop back to the floor and unwind what I just wound.
This would definitely be easier with another person to help for about 1/2 hour. My little dog was not interested. Oh, to be able to turn into Elastic Lad at will, so I could stretch to the front & the back of the loom simultaneously. But that’s not my alter ego.
So I stood there with the supplemental beam pulled taut, thinking. How would I do this?
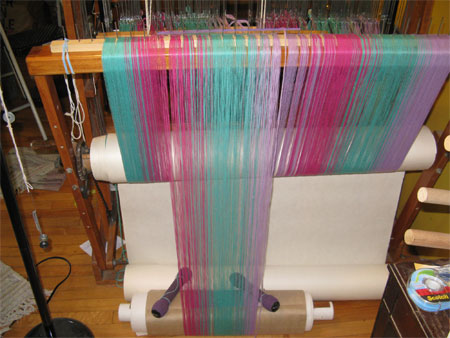
I set the supplemental beam on the floor and put a bit of weight on top of it. Nope. The counter weight was heavier. In the end I wound the beam up more and turned it over, laying it on top of the lease sticks. My weight dropped a bit every time I did this, but I couldn’t come up with another solution.
Still, the winding went smoothly. Here is is finished.
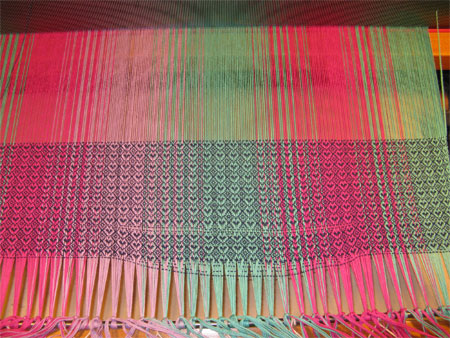
Then I threaded heddles & reed without incident, tied on to the front apron, and threw a few picks with the shuttle. Hah! The threads on that supplemental beam were nowhere near tight enough, so I untied and retied. Twice. Then started weaving again.
I ended up retying that section of the warp 2 MORE times – a total of 4 times of retying – before I got it right. (Pay no attention to the color in the above shot – it’s nowhere near reality.)
To be sure, it’s still not perfect, but I’ve got 1/4 of the first wrap woven and it’s structurally sound. I may decide to cut off after the first wrap, re-tie, and start again for the second one. I’ll have to think about it, since I’m a bit worried about using too much warp length – I don’t plan enough extra to do that tie-on twice. We’ll see how it goes.
I KNOW that if this wasn’t a custom order, I would have simply left the ‘flipped’ section of the warp stay like it was originally, and called it part of the design, but I can’t do that with a custom. I also KNOW that I will be very careful to never make THIS mistake again!


[…] It Got Better » […]