For Mother’s Day my sweet daughter bought 2 kits to make moss pictures, with the plan for us to do this activity together. It took a week or so to find an evening that would work for her, and then after the boys were in bed she came to my house and we had a good time creating.
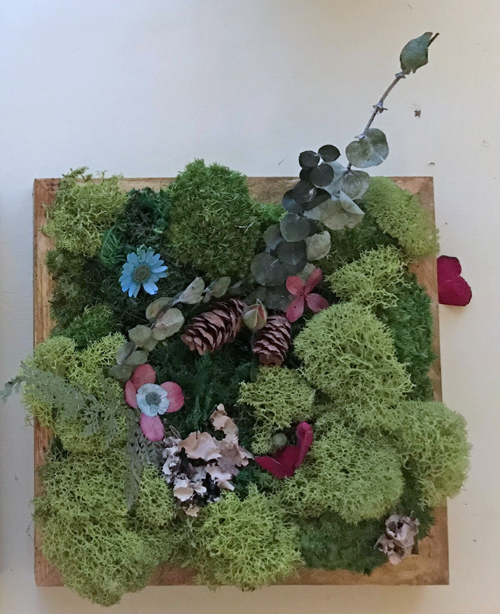
The mosses in our kits were the same; the embellishments were a bit different. And we arranged our mosses a bit differently as well. Here’s mine.
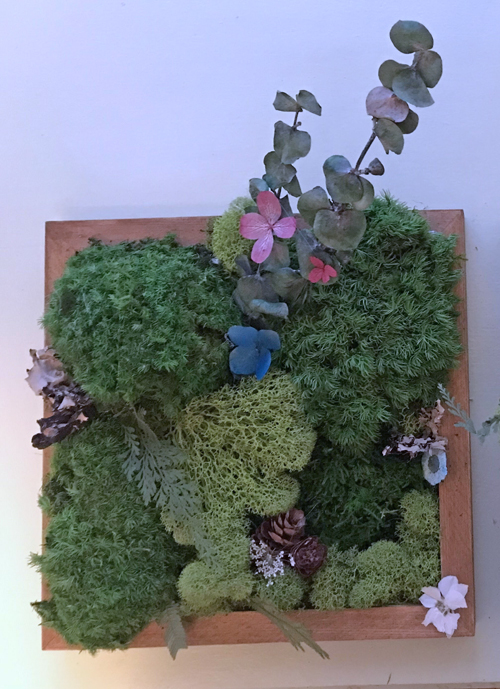
And my daughter’s.
This was a lot of fun, and could even be done via Zoom or Skype with people who are geographically distant with just a little advance planning.
*********************
Last month I told you I’d purchased some patterns for garments designed to be sewn from handwoven fabric. Well, like everything else in the world, this didn’t move quite as smoothly as I’d hoped from beginning to end. Through no fault of Sarah Howard‘s, I want to quickly add. She could not have been more helpful or generous in answering all of my questions.
Of course, every weaving project starts with planning. I decided to use a mix of cottons – a bunch of 5/2, some 8/2, and some 10/2. This, of course, made my project more complex than it would have been if I’d used all the same size yarn. But (a) I’m committed to using up my stash, and (b) this gave me the various colors of yarn I wanted. So I wound the warp.
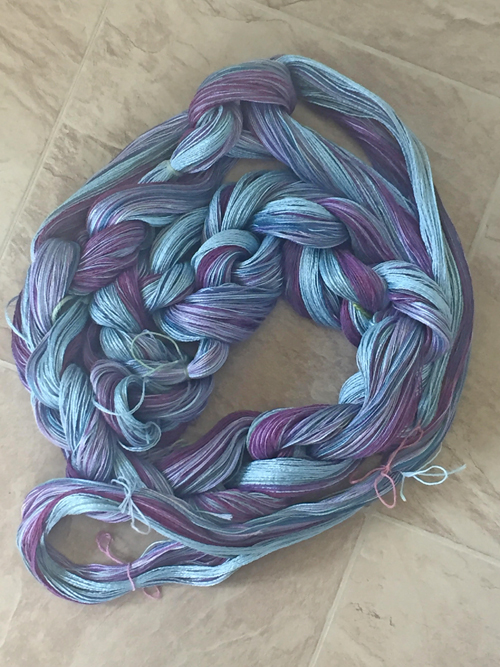
As I prepared to put it on the loom, I decided that the 10/2 was far too thin to use without supplementation. So I measured out a bunch of medium blue 5/2 to pair with it. This was easy enough to intersperse where I needed it since I hadn’t yet beamed the warp.
Then I threaded the heddles and reed. Hmmm…I still had too much 10/2 that doesn’t have a thicker partner. So I pulled that half of the warp out of the reed and changed it to a much closer sett. But now, not only was I still not happy, but my warp was too narrow. Since I couldn’t be positive of the amount of draw-in and shrinkage, I needed the warp to be a solid 20″ – probably wider – at the reed.
So next I measured out a dozen ends of 10/2, hung it over the back beam, and partnered it with the existing 10/2 ends so they’d each be doubled through the heddles. Once again threaded the reed, decided I was happy with it, and started weaving.
All was going well…although I knew from my calculations that it would be very close for me to have enough weft yarn. If I’d planned what I would use for weft more clearly from the beginning of the plan, that wouldn’t have been an issue; some of the warp ends were that yarn I later decided to use for weft. It would have been a relatively simple matter to choose a different warp yarn to replace some of those ends.
This is a plain weave, so the weaving was simple. I just had to keep adjusting all those weighted ends as the warp advanced.
Finally, the warp was all woven. It was about 8″ shorter than I wanted it to be, but since I’m significantly shorter than Sarah, I didn’t think that would be a problem. Each leg would be cut 2″ shorter than her pattern, which would probably (hopefully) be fine for my crops. Or maybe my fabric wouldn’t shrink as much as I’d allowed for. (Fingers crossed.)
Cut off the warp, secured the ends with a run through the sewing machine and then into the washer and dryer.
Meanwhile, I made a muslin of the pattern using and old & stained sheet I had just for this purpose. (Trust me – I hate making muslins as much as I hate sampling. But my experience assured me that this was necessary if I wanted to be happy with the pants when they were done.)
It came close to fitting, but wasn’t just right, so I made some modifications to the pattern, cutting the adjusted pattern out of tissue paper. I purchased some fun cotton fabric to make a pair of pants I could wear out of it before I cut into my handwoven fabric.
I purposely cut them shorter than the pattern expected since I knew I’d need to do that with my handwoven. These pictures were taken prior to hemming, and I cut off another 2″ before hemming. I was happy with these, although I could see that the pattern needed a few more minor modifications.
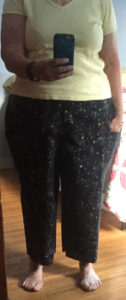
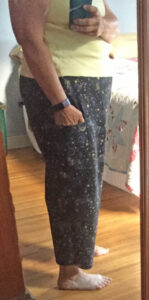
I know some people wouldn’t like the patch pockets, but they’re just fine with me. And MUCH easier than side seam pockets. And who wants pants without pockets? Not me!
The next step was to use more tissue paper. I had only one each pants front and pants back pattern piece, and since these pants are cut out in a single layer, I wanted two of each to make my life easier.
Then a good thing happened. It was my turn to host and Open Studio at the Weaving Center. Two-and-a-half hours at a place with six-foot tables. That would make things much easier – my kitchen table is just over three feet wide, and with that leaf up it takes up most of my kitchen.
So I brought my fabric, tissue paper, iron, and other supplies to the Center with me. I made the needed mod to the 2nd pattern piece, adjusted my modified original, laid out and cut the fabric, and then ironed on the woven interfacing along all the cut edges to secure it. Came home and zigzagged all the cut edges for another measure of security and started sewing.
NOTE: I’m not happy with the photos being so grainy. But here’s the thing…by the time I take the images in my mirror and crop them to show you just the pants, this is what happens. I don’t want to go through taking them, cropping them, and inserting them again. That’s why I chose to show you the crops with the fun fabric above at a smaller size. But I didn’t want to do that with this pair. Maybe next time I need to take a photo like this I can do better. Maybe.
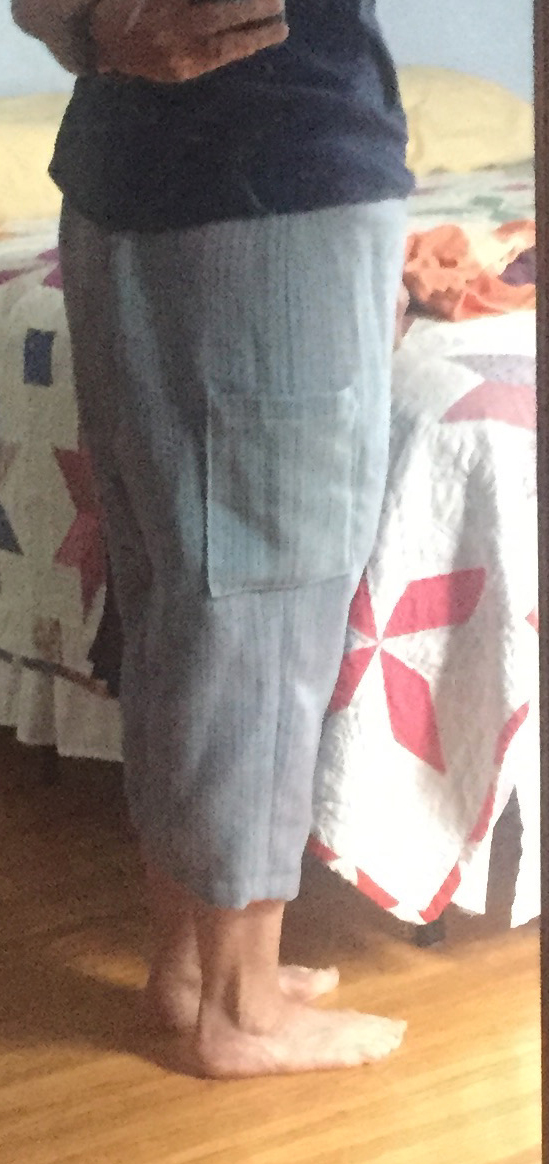
I finished the hemming today. I am really happy with these pants, and can’t wait to wear them to a Guild meeting for Show & Tell. 🙂 Unfortunately, I fear that by the time the Guild meets in person again, it’ll be too cold for crops. 🙁
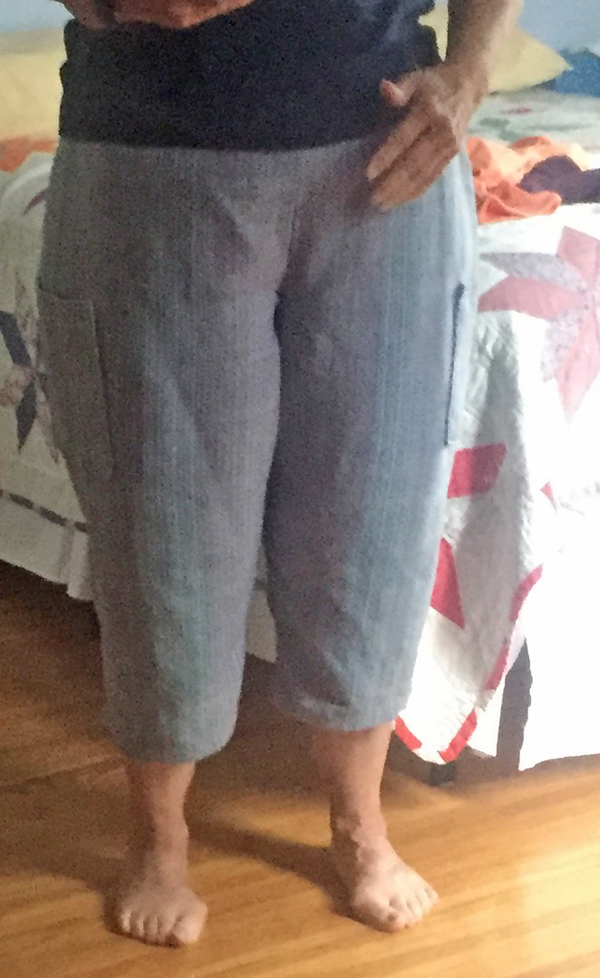
I learned a bit about stripe placement and would have laid out the colors on my warp a bit differently, but that’ll be for the next time. Assuming I can remember that long. 😉
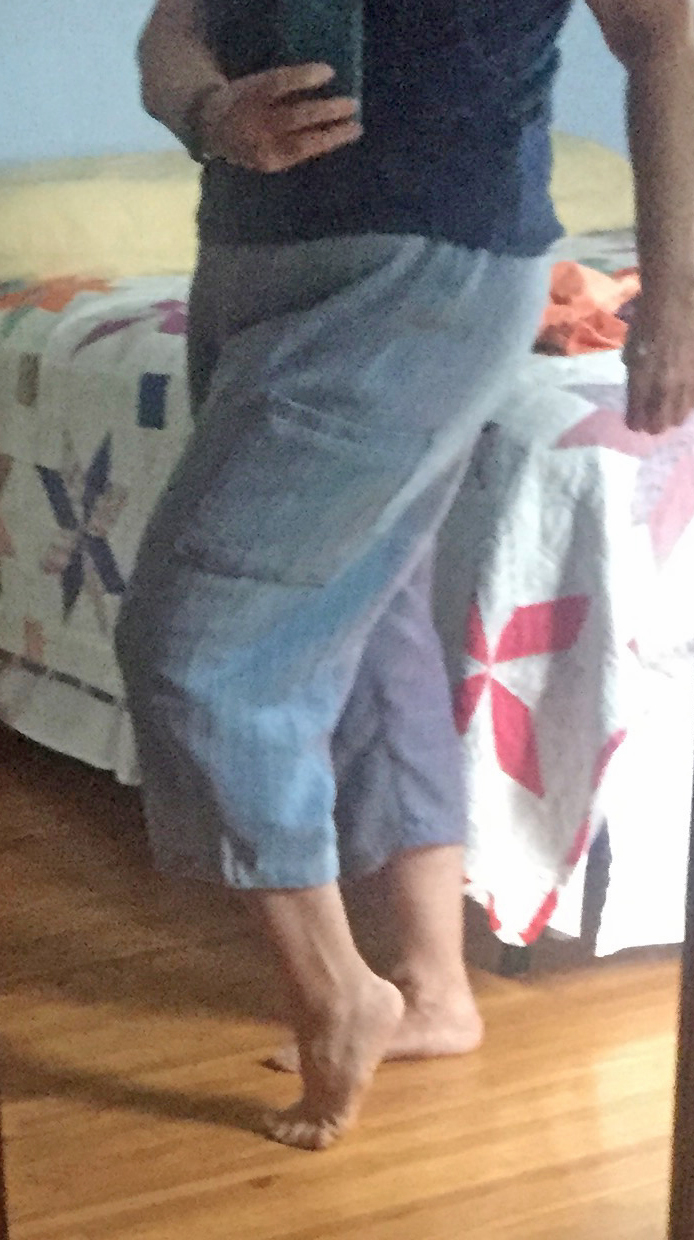
I know I gained a lot of confidence with these, and will definitely weave more fabric to use the other patterns I purchased from Sarah. I have something else I have to do first…no hints, as it may be a total bust.


WOW your crops are fabulous!!! A lot of effort and a beautiful fit. Glad the patterns work so well for you and you can weave fabric for clothes made for you.
The moss art is so intereshing and gentle. Nice project to do with A.
Thanks, Jennifer. Now I’m actually looking forward to sewing more clothes…from my handwoven fabric. Most of my prior efforts didn’t please me and therefore didn’t encourage me to make more. And yes, that moss art was fun and looks nice on my mantle.
Lovely on all counts Peg! I’m so proud of you in all you do! And love that you and your sweet daughter get to do such lovely things together!
Thanks, Judy. Mom taught us well, didn’t she? And I am VERY lucky that both my kids live close!
Love the moss pictures. Do they last a long time? It looks like a very fun activity.
Your crop pants turned out great, they look to fit very well. My goal is to eventually start making myself some clothing from handwovens. I’ve only made a few vests over the years.
Cindie – I can’t say for sure how long these particular moss pictures last, but my sister has had one – quite different than these – for years on her mantlepiece.
Thanks for the compliments on the pants. I’d made a vest before – it was one of my least successful makes. I can’t say enough about Sarah’s patterns.