Before I get to the really fun stuff, I’m going to show you what I’ve dyed recently, in the order that I created it.
After dyeing all those socks, I wanted to dye some silk scarves I’d purchased specifically for this purpose, for the upcoming Elmwood Avenue Arts Festival. I’d had so much fun and success with the shibori-dyed socks, it only made sense to use the same strategy with the scarves. I chose a combination of turquoise and intense blue dye.
Here’s how they turned out.
Remarkably pale and boring. I have some thoughts on why this is the case, but not the time to test and see if my thinking is correct. Here’s what I think anyway: when you immersion dye, you use a formula, based on the weight of the dry goods, to determine how much soda ash, salt, and dye powder to add to the dye bath. Because the silk scarves are SOOOO light, I think the formula didn’t work. Or maybe it was something else entirely.
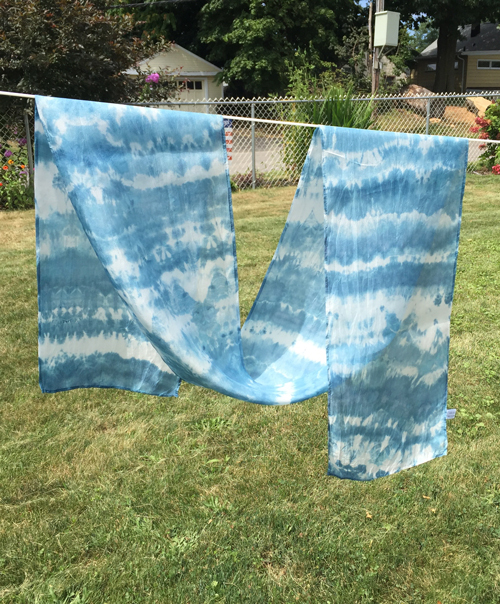
The only one that was successful was different. Instead of wrapping it on a cone, I ‘snake-wrapped’ one scarf, much like the snake-wrapped socks shown here. I took that snake-wrapped scarf out of the dye bath and put it in a container for ice dyeing, sprinkling navy dye over the ice. Here’s that final scarf. Reminiscent of indigo to me.
Then a friend shared a video with me of a man folding and ice dyeing a wall hanging, putting the dye directly on the cloth and the ice on top of that. Well. This was an exercise in frustration. No possible way I could achieve anything faintly resembling his folding technique. I THINK that was because he was working with a fairly thick fabric, folded double, and I was working with a single layer of fine silk. (Note: for the next 4 scarves I gave them a soda ash bath before proceeding.)
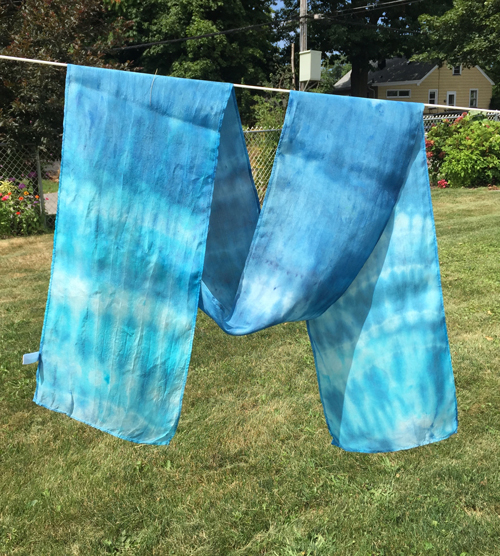
Anyway, although I didn’t take a photo of it, I took the dry scarf and did tiny folds and tied the scarf about every 1.5″. Fold, tie, move down a bit; fold, tie, move down a bit; repeat. I put some turquoise and some intense blue dye directly on the scarf, then the ice on top. Here’s that scarf.
Then I thought, heck, I’m going to try another technique – blowing the dry dye powder onto a wet scarf. Bear in mind – THIS IS NOT RECOMMENDED with chemical dyes…you do NOT want to inhale the powder. I was very careful about that, but apparently not about what I was doing with the dye. Used way too much and the scarf is, IMHO, ugly. Maybe someone will like it.
I had 2 more failed shibori scarves left. What the heck, try another new-to-me technique. Went to the dollar store and bought a can of shaving cream. I watched 2 different Youtube videos. The first one has the most info, sharing results from various methods. The second one showed a different way to mix the dyes, and I loved her results. I actually remembered to take process photos of this, so here we go.
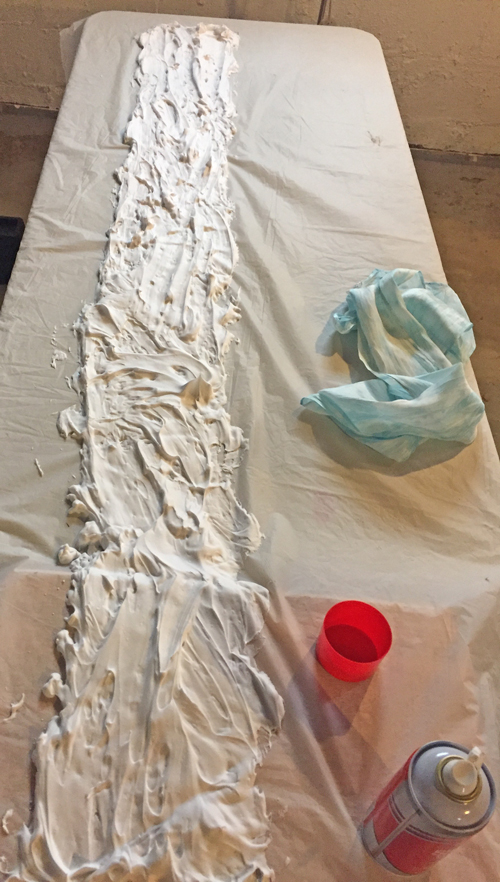
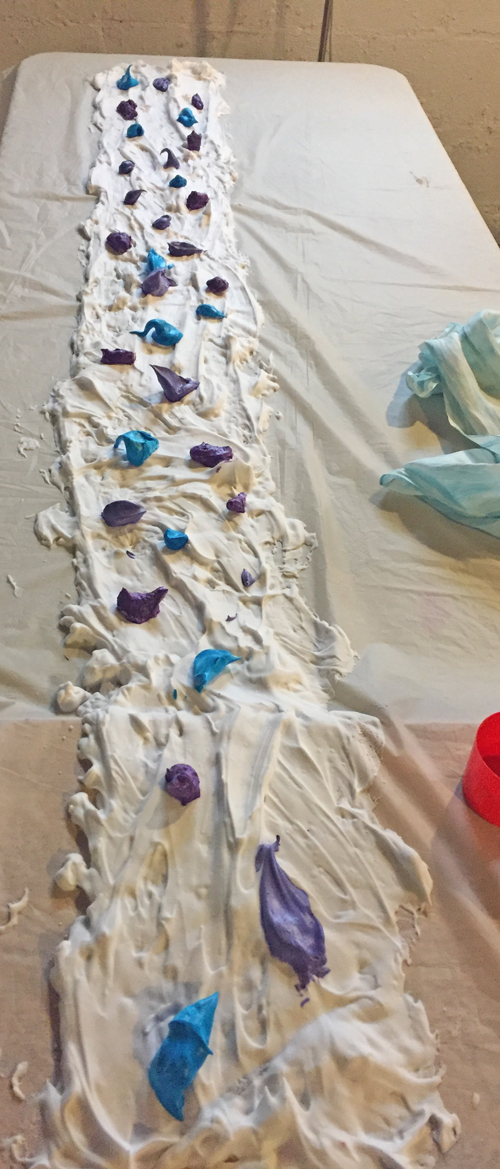
First I laid out my plastic tablecloth and roughly marked the area the scarf would take up. Then I sprayed on the shaving cream and used my hand to spread it out, just filling up the space with no intention of making it smooth.
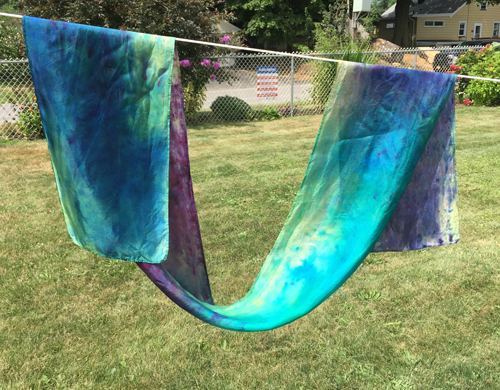
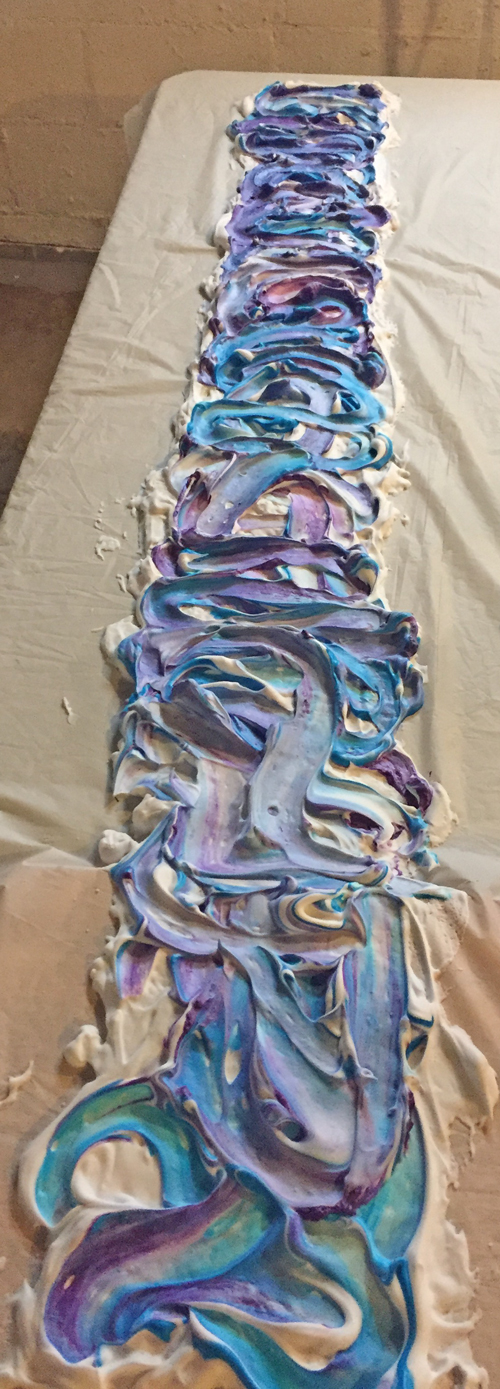
Then I mixed up 3 colors of dye – turquoise, grape, and lavender, with a tiny bit of urea water as usual. After that I added a bunch of shaving cream to each dye container. I then unceremoniously plopped the dyed shaving cream around on the plain shaving cream.
I used the back of a plastic spoon to marble the colors. (Note: I’ll take a bit more time and be more thoughtful with this step in the future.)
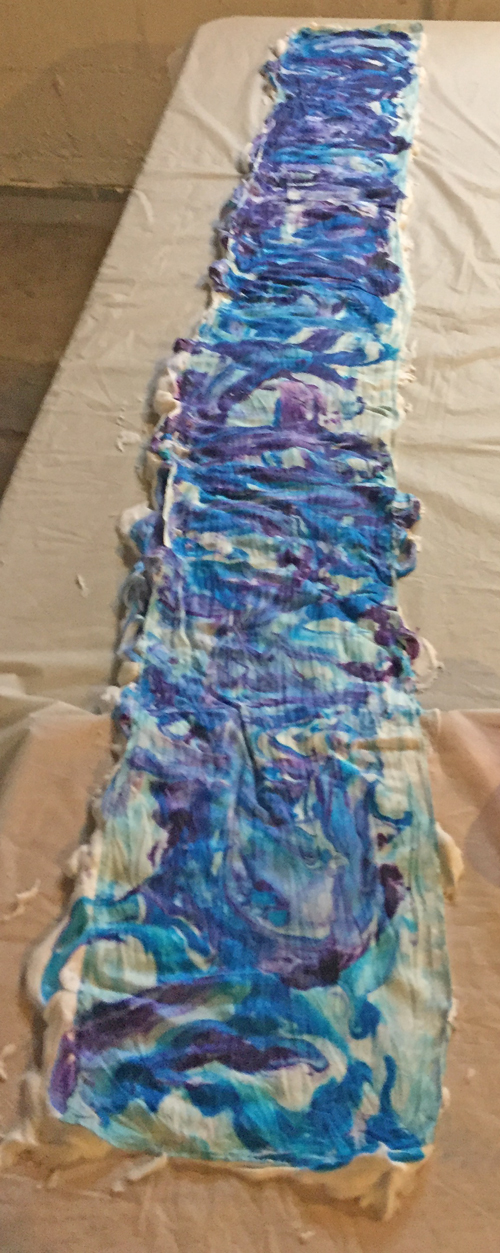
Then I laid the silk scarf on top, gently pressing it onto the shaving cream. It sat there for a few minutes to make sure the dye was absorbed.
Then I carefully lifted it off and set it on the side of the table. VERY little shaving cream came with it, and since I had one more failed shibori scarf I put that on top of the same shaving cream and repeated the process.
That second scarf is a little lighter, but still just fine.
I still have to tag and label these, as well as the scarves I snow dyed in the winter.
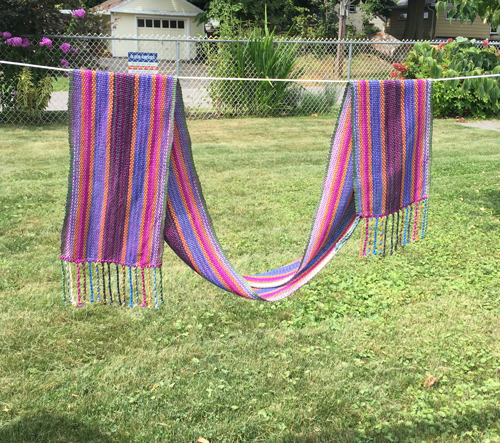
Oh, yeah. Here’s a scarf I wove on the rigid heddle, started at the Chautauqua show and finished when I came home. Warp is a combination of cotton and bamboo, weft is mercerized cotton.


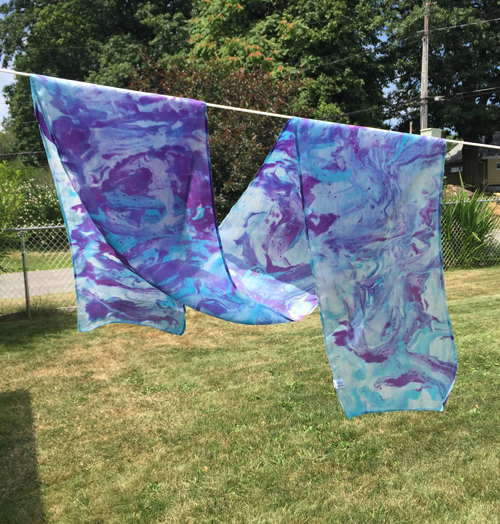
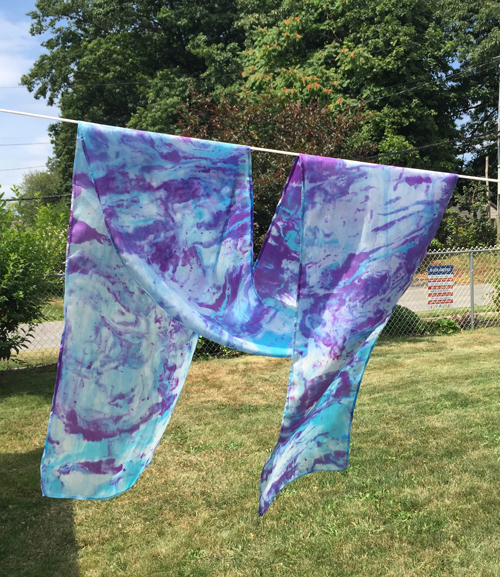
The shaving cream scarves remind me of marbled paper! They’re absolutely beautiful.
They sure do look like marbled paper!
Cool! Did you use acid dyes?
I rarely work with wool, Tobie, so no. Except for a few experiments with koolaid for a make-&-take workshop last winter, all my dyeing is with MX fiber reactive dyes. Works for all plant-based fibers. Silk can be dyed with both fiber reaction and acid dyes, as long as it is heat set with fiber reactives.
I love the shaving cream results. I had done that years ago on some cotton fabric, I totally forgot about that technique.
I love those results, too, Cindie, and it was FUN! I will definitely do this again…maybe even with a plain handwoven? Or with some store-bought cotton to coordinate with some handwoven for a garment? Or with some felt for same? Or……