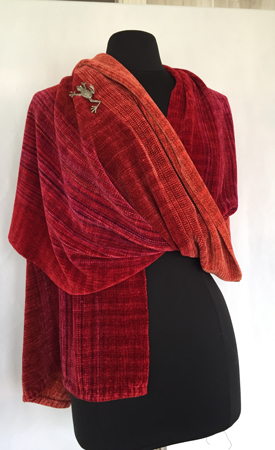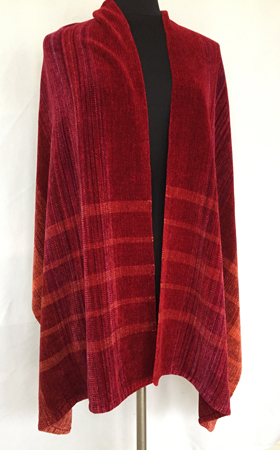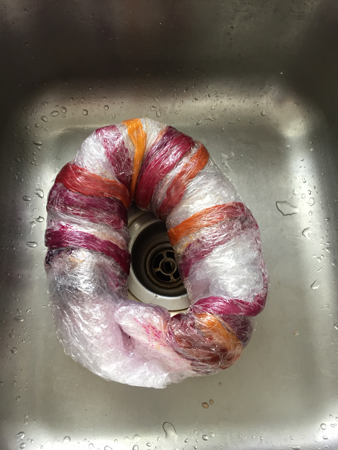
I got those last 2 rayon chenille shawls woven and finished, but I don’t have pix yet, so you’ll see them later. Meanwhile, I did some more hand painting. My goal was a very deep magenta, a pale magenta, and undyed. After a bit of painting I decided to add some yellow to the warp. My quick calculations about where a scarf would end may or may not have been accurate — time will tell. I had a friend helping me, so went back to the process of having the three sections of warp lying next to each other while I painted for more control; that’s why there’s a ‘snake’ of dyed warp. This is silk, and it’s already been steamed and batched overnight at this point.
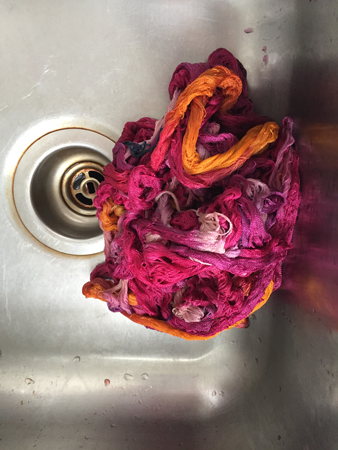
After taking all the saran wrap off, which is always a messy endeavor for me, it looked like this. Looking good.
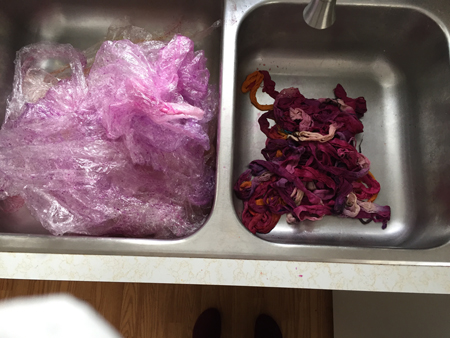
My process is to then give it a fairly quick rinse, followed by an overnight soak. Here it is after that rinse. I can still see 2 distinct shades of the magenta, so I’m feeling good.
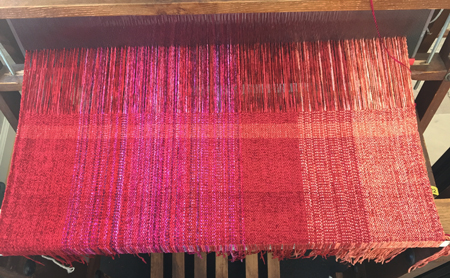
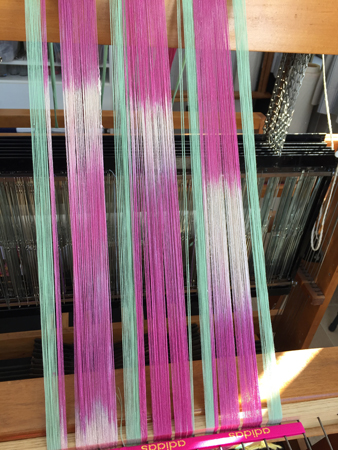
Hmmmmmm…after drying, there is very little difference between the dark and light magenta. As a result, my warp will have some fairly long sections of the same color. Not the effect I wanted. Dyeing is still quite an experimental activity for me.
I did keep records of the proportions of dyes I used, and that can inform future efforts. I spoke to my dye teacher and asked about over-painting sections of the warp to achieve my desired effect. She assured me I could do it. I thought about it for a few hours, and decided to leave well enough alone. After all, it was possible I’d end up with something I liked even less.
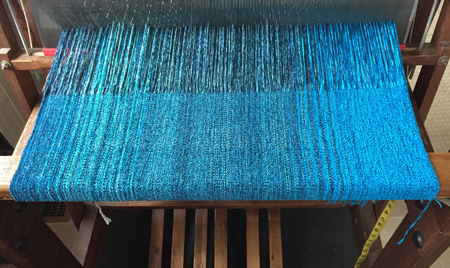
So I paired it with some narrow stripes of pale, spring green 16/2 cotton and started beaming it. I would have used silk if I’d had anything in colors that spoke to me.
I figured with less differentiation in the warp, it would allow me to do both a more complex weave pattern and bolder weft colors. We’ll see how that turns out.