Archives

It’s another long story

This one is about dyeing goofs, repeats, and surprises.

My brain starts thinking about and planning the next warp while I’m working on the one currently on the loom. I knew I needed to weave with silk, and I needed scarves, so I figured I’d do some silk dyeing. I wanted to use my shower curtains as my inspiration – they are dark to light teal.

So I measured out some 30/2 silk the warp for 3 fringed scarves, and also decided to dye a skein in a darker shade for weft. Then down to the basement with my notes from earlier dyeing.

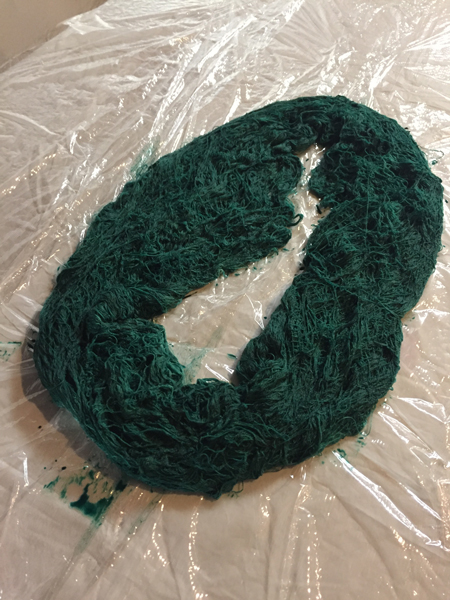
I hand painted the warp. It was clear that the blue-ness was virtually all gone, even while I was painting. This natural silk had quite a yellow cast, so it reacted with the dye and everything was shades of green. Ok, I can live with that.

hand painted silk in greens

I decided that instead of immersion dyeing the skein, I’d paint it, all the same color. Much quicker.

dyed green silk for weft

I wrapped them up and brought them upstairs to batch overnight. The next morning it was back down to the basement for rinsing and soaking.

Wait – what?! I unwrapped the skein first, and the color was POURING off it. Why?? Oh crap! I hadn’t dyed silk in quite a while, and forgot that silk MUST be steamed. So. What to do now? How to resolve this?

I set the skein in a soda ash presoak (which I later had to dump as so much dye came off the skein), mixed up more dye, re-painted and re-wrapped it. Then I took the skein and the warp upstairs and steamed them both. Now for another day and night of batching.

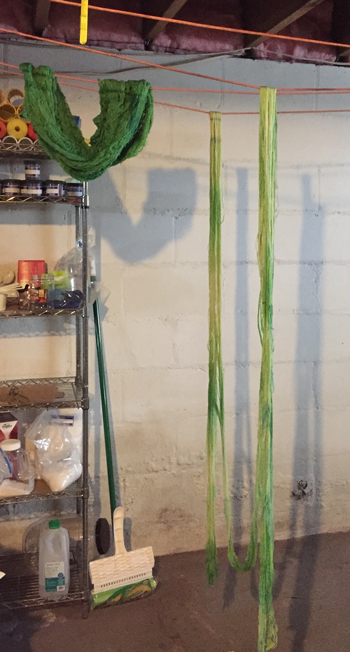
The following morning it was back down to the basement to unwrap and soak. After soaking for several hours and more rinsing, I was surprised at how much dye STILL left both the warp and weft yarns. Here they are hung in the basement, dripping wet.

hand dyed yarns, newly hung to drip

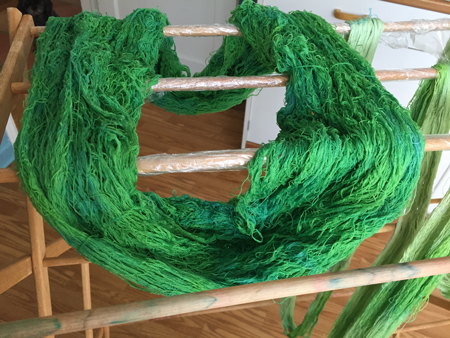
Once they’d stopped dripping, I brought them upstairs to finish drying, as it takes too long in my unheated basement. Although much paler than anticipated, I liked the fresh, spring green.

hand painted green silk warp

dyed green silk weft

Once both warp and weft were dry, however, they were both MUCH lighter still. Oh well, I wasn’t going to dye them both again. So I warped the loom and started weaving.

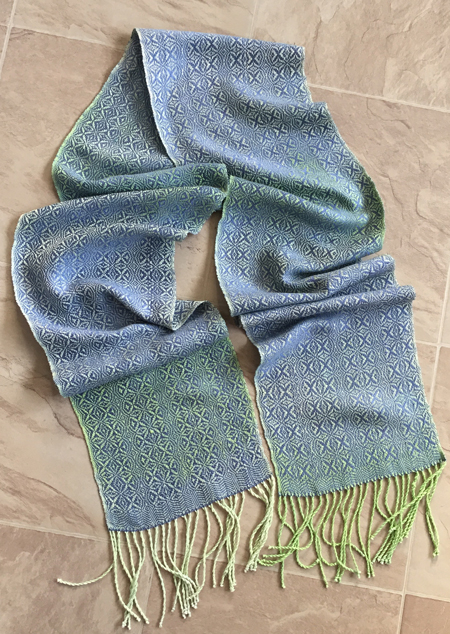
The weft color was so similar to the warp colors that the weave pattern was almost indistinguishable. I went with an easier treadling for most of the scarf, with just the complex pattern near the ends of the scarf.

pale spring green hand dyed silk scarf

I sure didn’t want to use that weft for another scarf and don’t have more 30/2 silk, so I switched to 20/2 blue silk for the second scarf.

hand painted silk scarf with blue weft

For the last scarf I used some green cashmere-silk I’ve had for quite a while. It’s so fine I used it doubled.

hand painted silk scarf with green

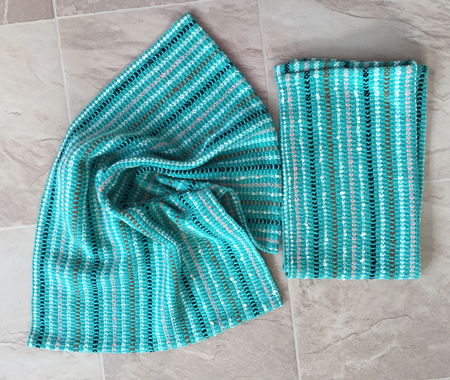
Unrelated…I also wove 8 towels this month. Sticking with my ‘must use stash’ mantra, I warped the loom with lots of mini-cones of vintage cotton rick rack yarn for bumberet. This yarn was roughly the size of 3/2 cotton. Because I didn’t want a warp-faced fabric, I gave some thought to what my choices were for weft. For the first 2 towels I used aquamarine 8/2 cotton, doubled.

handwoven aquamarine towels

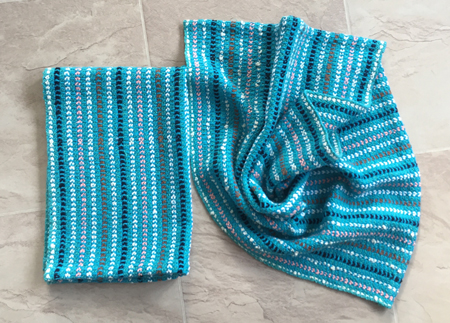
I wove the next 2 with peacock cotton, again 8/2 doubled.

2 handwoven peacock towels

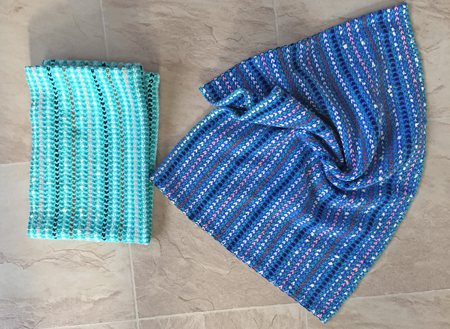
I looked around at my bins. What else did I have hanging around that might work? I picked some Sugar & Cream yarn, first in a dark-ish blue, then in a light aqua. These towels are definitely thick, but I believe they’ll be nice and thirsty.

2 handwoven thick towels

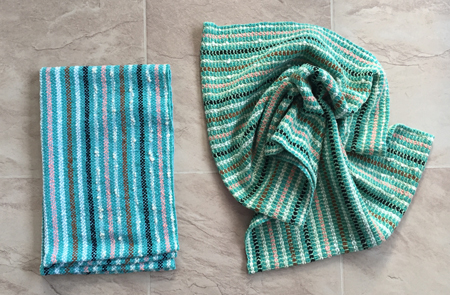
Then I picked an odd green 8/2 cotton, again doubled. It’s not my favorite combo, but it’s okay. Finally I used a pale blue, going with plain weave for this last towel.

2 more handwoven towels

I have another handpainted silk warp on the loom now, but that’s another story for next time.

Finishing March

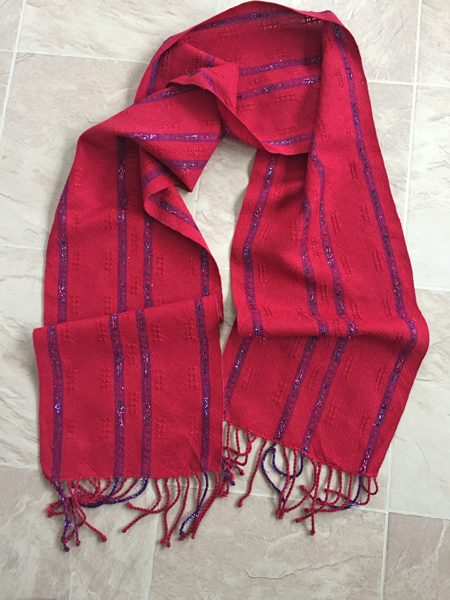
I got 2 more scarves woven and finished in March. The warp and weft are both 8/2 tencel with a rather wild supplemental warp. The supplemental warp (or is it more correctly supplementary?) is sort of like tinsel, with lots of 3-dimensionality. You can get some idea how it looks at a distance…

handwoven scarf with sparkles

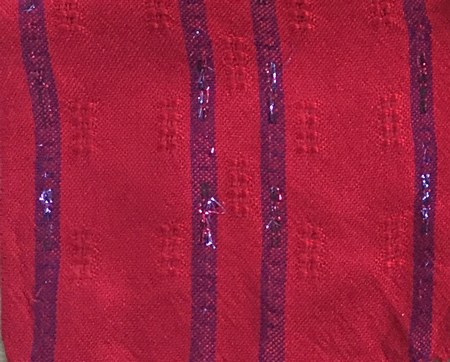
…and get a better idea with a closeup.

closeup of sparkly handwoven scarf

I usually warp for 3 scarves, but this time I just did 2…I had no idea how this novelty yarn would work. Would its metallic ‘hairs’ be completely caught in the warp and weft and not show? Would they stick out too much? Would it shrink at a rate much different from the rayon and pull it out of shape?

As it turned out, it worked rather well. I have 2 balls of the novelty yarn and will use it again in the future.

After I got these scarves done and recorded in my spreadsheet, I gathered my courage and looked at the number of pieces I’ve finished since July. I’ve spent a bunch of time not weaving due to other commitments, injuries, and a choice to make some time-consuming garments, so was afraid what these numbers would look like. As a reminder, my estimates are that I have to complete 6-7 quality pieces each month. So for July through March I should have finished 54-63 pieces.

I was pleased with my total of 46. Although that’s between 8 and 17 pieces short, I thought it would be worse than that. Do I think I can make up 17? Probably not. But I think I can make up 8 in the next 3 months. Especially since I’ve woven very few scarves so need more, and they take LOTS less time than bigger pieces.

I’ll be putting a warp on for 3 silk scarves tomorrow for a strong start to April.

Telling more stories

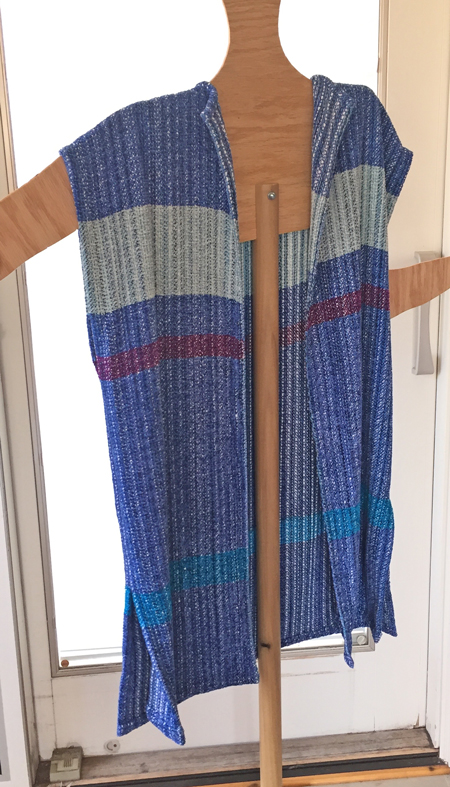
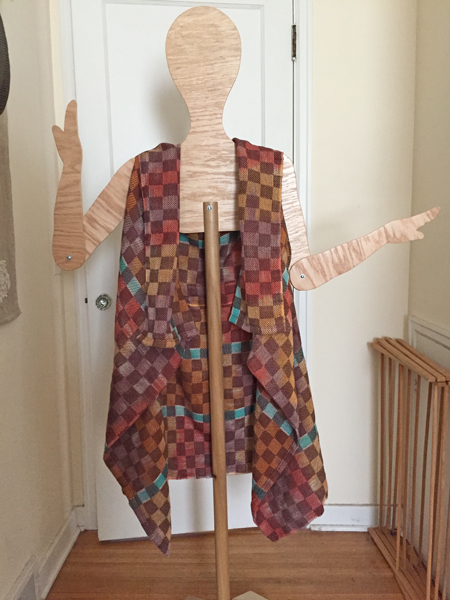
I’m going to start this post without a story, just showing you a few pieces I forgot to post when I finished them in February. This is a mixed warp – cotton, bamboo, and rayon chenille. The weft is all rayon chenille. I particularly like this first piece, a long open vest with side slits, although it’s a tad small for me.

handwoven long vest

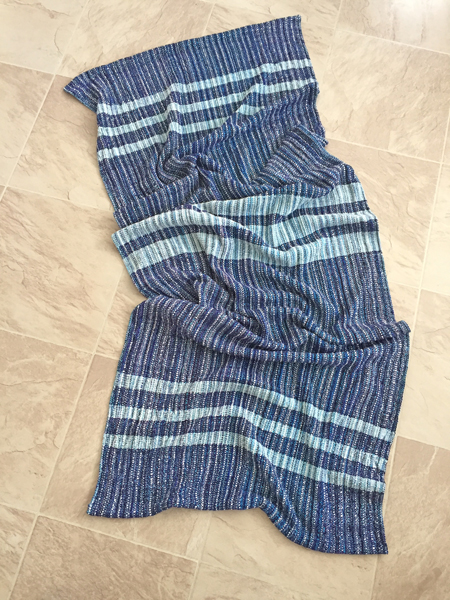
I intended this second piece to be a regular shawl with fringe. I twisted the fringe, and the combination of fibers turned into a real mess during wet finishing. I untwisted and untied it all, and the piece sat there for a while waiting for me to decide if I would twist again, hem, or turn it into a mobi. Finally I decided to just hem it as is.

handwoven long striped shawl

Okay, that turned into a story, but just a tiny one. Here’s a long one.

I wanted to do some dyeing, so went to my Pinterest page and looked at my Dyeing Inspiration board. Design Seeds is a marvelous place for color, and I was moved by their Color Spice combo.

Design Seeds Color Spice

I measured out 3 wide and 2 narrow bouts of 8/2 mercerized cotton and went down to the basement. The wide bouts were going to be the spicy colors, and the narrow a bit of turquoise to complement. I dyed the first wide bout, using a few new dyes I’d purchased, actual ‘professionally created’ colors instead of my own blended creations: golden oak, chocolate brown, and my own terracotta blend.

I decided I needed more red in the mix, so added ‘some’ (not measured) red to my terracotta for the other 2 bouts. Then I dyed the skinny turquoise bouts. After batching and drying, it was clear that I’d been too stingy with the dyes – I had some undyed spots on my yarns. Nothing I can do about it now. So I beamed the lot.

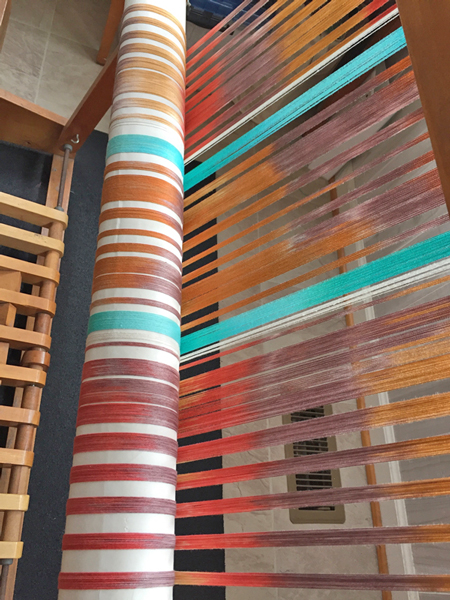
beaming spice warp

As I was beaming I decided I wanted to use chocolate for weft for the first piece. Of course I didn’t have any yarn in anything faintly resembling that color, so I had to dye it. No sweat.

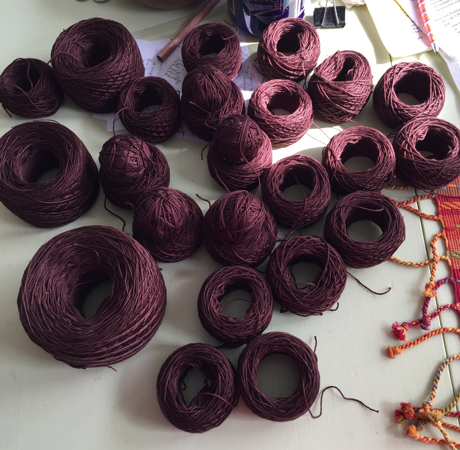
Except that in my ‘must use stash’ head I wanted to use some 8/3 mercerized cotton I’d picked up in a weaver’s sale. An odd size to be sure, but it looked nice and would work for weft. In winding it from cones to skeins for dyeing, problems arise. One of the cones looks okay, but is actually lots of shortish pieces. If I’d been planning to use it as warp I’d have thrown it away. However as weft, each of those short pieces was roughly the amount that would fit on a bobbin, so it made sense (at the time) to use it. I ended up with something like 25 mini skeins and 3 normal sized ones.

Mix up the dye bath, do the dyeing, and batching, get them out to dry. Uh oh. All those skeins ended up in a real mess! Granted, I don’t dye in skeins much and so probably didn’t tie them correctly, but I wanted to be sure I didn’t have white/undyed spots on this dark weft. It took me LOTS of time to untangle them and wind them into balls after everything was dry. But the color was just what I wanted.

dyed chocolate mini skeins

Now to weave. Then machine sew. Then hand stitch. Here’s what I ended up with. I’m quite happy with all 3 pieces, and very pleased that I actually succeeded in creating pieces in the colors originally planned.

First up is an open front cardigan, using that chocolate weft 8/3 cotton weft. I didn’t make it as wide as my first two, and like the way this one hangs better on the body. (Neither Lady Jane nor the mannequin showed it as well as a real human does.) No need to round the corners.

handwoven chocolate spice open front cardigan

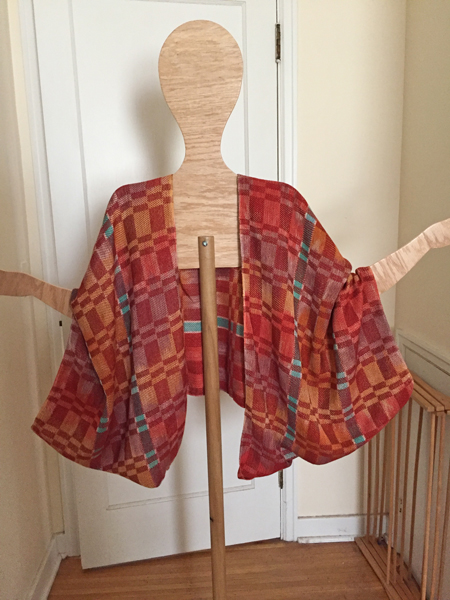
Next I used an 8/2 tencel in cayenne to weave a simple jacket. Really brightened up the look.

handwoven cayenne spice jacket

I finished off the warp with a sienna 8/2 tencel for a wide cowl.

handwoven sienna spice cowl

Now I MUST get dressed and go walk Jack!

There’s always a story

Is it just me, or does everyone (or at least every weaver) have a story behind everything?

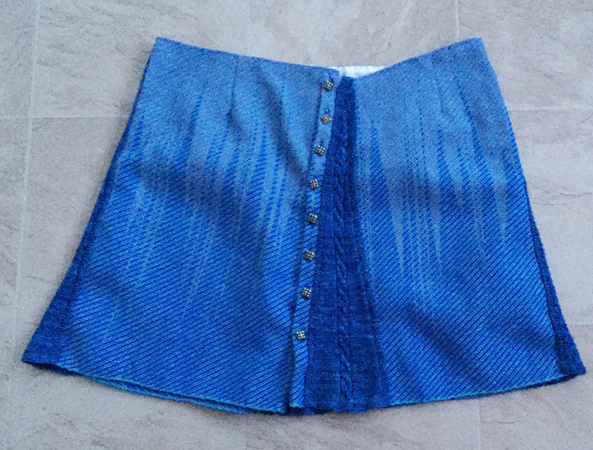
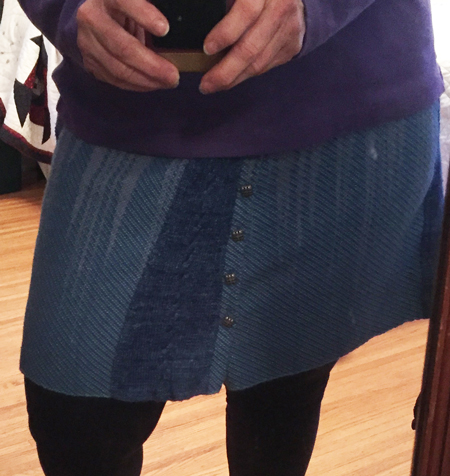
For today, let’s just go with one. The story of this skirt.

hand made skirt

Although I have woven a grand total of 4 tapestries, completing half of them, I faithfully read Sarah Swett’s blog. She fills it with her photos, drawings, paintings, and stories, as well as her beautiful tapestries. Well over a year ago she posted a skirt she made using a combination of weaving and knitting. I LOVED it! I wanted to do it. But I was busy and the idea just sat at the back of my mind.

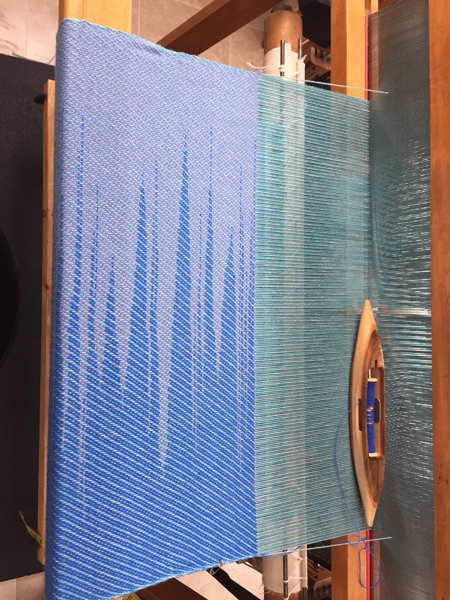
Then in January of this year Sarah produced directions for how to make such a skirt – yay! I immediately bought her PDF and started planning. By the end of the month I was working on the woven parts, using clasped weft. (Note: the colors in this photo are the most true.)

skirt fabric on the loom

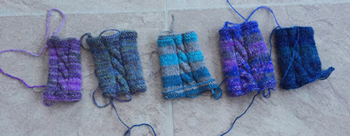
That was the easiest part for me. After the weaving was done I dutifully followed Sarah’s directions for calculating the knitted sections. I started by knitting up a swatch. You know I hate to sample, but I had to get a gauge for the yarn and pattern I wanted to use. I chuckled when her directions said to knit a swatch, or knit five. Five samples! She must be joking! Well, I ended up knitting five swatches.

5 knit swatches

None of the colors I had were really what I wanted. I went to Joann Fabrics and bought a yarn that I thought would be perfect, but the variegation didn’t work the way I wanted at all (center swatch). I then went to the lovely fancy yarn store and bought a skein of stunningly soft and beautiful expensive yarn.

At least all the samples I had knit were the same weight yarn, and were all the same size, so I didn’t feel a need to knit one more with the new yarn. I just started knitting those panels. Then I cut my handwoven fabric into panels and started putting the skirt together as planned.

But wait! What’s wrong? Hmmmmm… You know how your teachers always told you to read all the directions before you started the test? Well this was sort of like that. First I realized that I planned the weaving wrong, with my selvedges at the waist and hem of the skirt, not the sides of the panels as Sarah had. That’s okay, it’ll work out the same.

Then I somehow couldn’t wrap my mind around how many knit panels I needed. 3 or 4? Why couldn’t my brain understand? Then after I stitched the first 3 knit and woven panels together it was clear to me that the skirt wouldn’t fit, it would be too small for me despite my careful measurements. Luckily I enough extra fabric for one wider panel. Okay, take a breath and let’s proceed.

I put everything together and tried the skirt on. Well poop! Despite my best efforts, there was puckering at every seam of knit and woven fabric. Fortunately I’d hand sewn it all, so it could be taken out without any damage to either side, just a lot of sighing. Then I laid it flat on a table and actually basted the pieces together. (Previously I’d sewn as I went, sitting on a chair, with fabric over my lap – not flat, not basted. Wrong, wrong, wrong.) I hand stitched it all together again.

Now I was thinking about the button closures. My knit panels were made from a lusciously soft, single ply sock weight yarn. I didn’t think this was a good fit with buttonholes – the yarn would stretch out of shape too easily. Nor did I think it was good to hold the buttons. Similarly my woven fabric was too thin and soft. So I had to reconfigure the plan and make a narrow strip of doubled woven fabric for the buttonholes, double the fabric on the other side for the buttons.

I made another trip to Joann’s for buttons, as nothing I had at home was right. Found some I really liked, so now I could make the buttonholes.

Putting everything together, it was clear that the skirt was still not going to fit right. How could this be, after all I’d done?! Answer, unlike Sarah, my body has plenty of lumps. My belly is bigger than my waist, so a straight line from the waist down would be too small for my belly, while something that fit the belly properly would fall off the waist. How to fix, how to fix? The answer was obviously darts. How big? How many? Where?

I finally decided to just make a dart in the center of each woven panel. The calculations weren’t hard. Again I hand sewed, just in case.

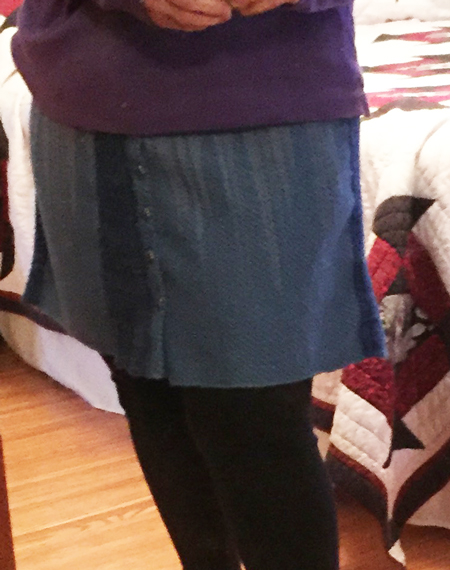
wearing my hand made skirt

But now I had to finish the inside waist of this skirt. Wide twill tape was my answer. It’s not beautiful, but at least it’s functional. I finally finished the skirt last night – almost 3 months from when I began. So ignore the fact that the top edges, as shown in that first photo, aren’t perfectly aligned. At this point, it is what it is, and since I almost always wear a top on the outside, to help hide the big belly, no one will see it.

me in my skirt again

I’m happy with the results, if not with my bulging belly. Will I do this again? Yes. I’ve learned a lot and won’t make the same mistakes the next time. And I just love the concept. Will I do it right away? No. I have to produce things to sell.
Dyed to win

Somehow it’s been almost 2 weeks since I’ve posted. I have put a photo or 2 on my Second Wind Facebook page, but they don’t require more than a sentence, so I can do it when I have just 2-3 minutes. Lots to show now, and more is almost done, despite my bum leg.

On that note, the chiropractor determined that the cause of all my physical ails on that leg were simply the result of incredibly tight calf and hamstring muscles. I’ve had 3 visits with her and am feeling soooo much better.

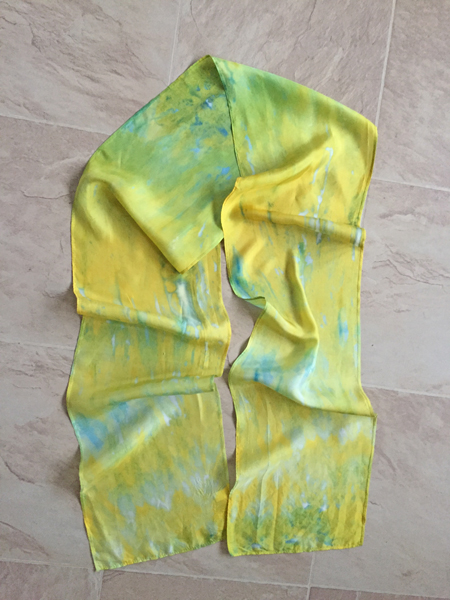
First, here are the results of my snow dyeing. I really like the way things turned out, although some required me to try more than once. In the end I decided that I needed to make a new batch of pre-soak.

yellow & green silk scarf

snow dyed yellow and green silk scarf

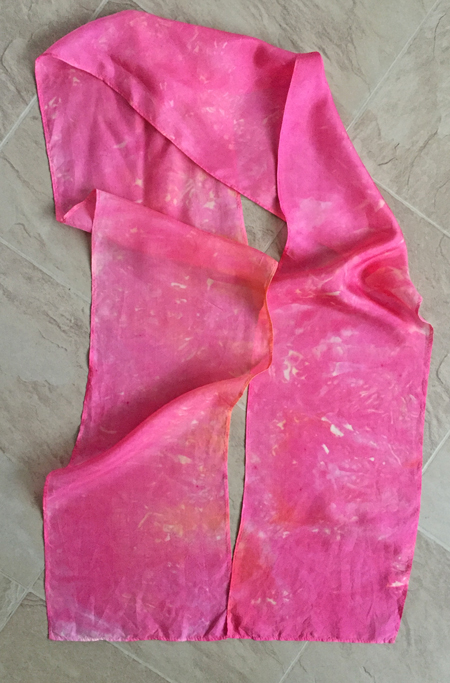
dyed red & orange silk scarf

snow dyed red and orange silk scarf

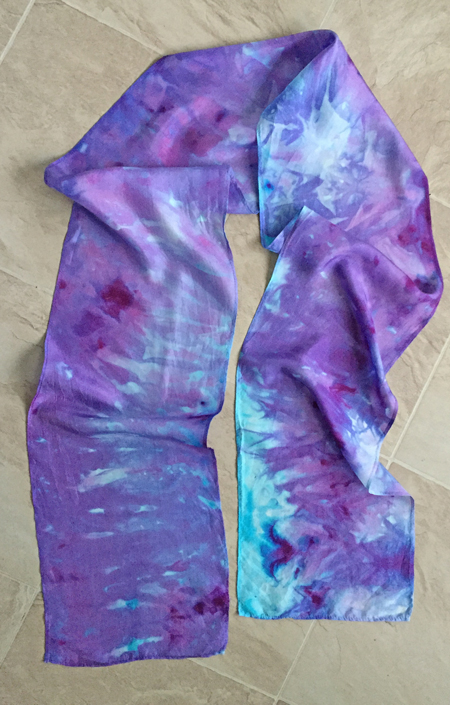
dyed blue & purple silk scarf

snow dyed blue and purple silk scarf

And now for the socks. All 4 at once. I like the way the chocolate dye ‘broke’ and showed some purple.

4 pair dyed socks

4 pair snow dyed socks

Then I finished the two pieces on that hand painted purple and red warp. After I got it on the loom I decided I wanted a weft color that really coordinated, so I went back to the basement and did a bit of immersion dyeing – tencel for one piece and cotton for the other.

I like both, although I still don’t know what I was thinking when I did my planning. These are too narrow to be shawls (which I had intended) and a bit wide for my preferred scarves. Thankfully, many of my customers like wide scarves.

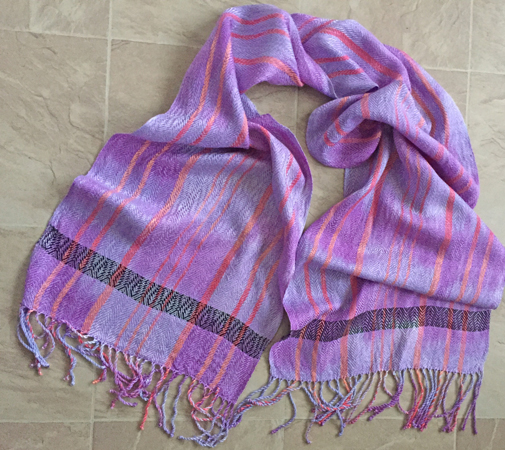
The fringed scarf has a narrow band of black on each end, and I used my ‘feathers’ treadling pattern. This is the one with the tencel weft.

hand dyed and woven scarf, grape and red

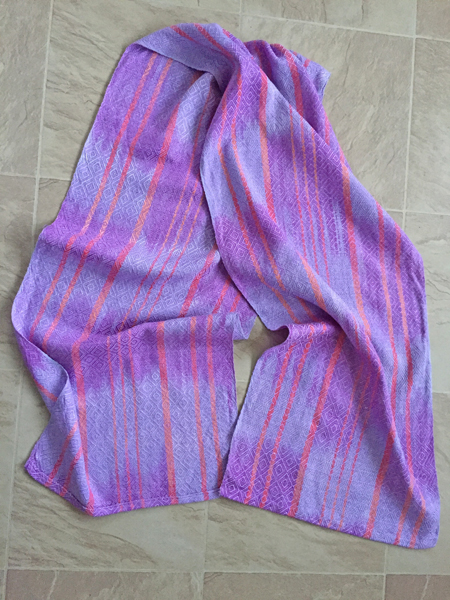
For this one I decided to hem, not fringe. I used the cotton weft and switched to a diamond treadling pattern.

hand painted and woven purple and red scarf

I have 3 more pieces in the finishing stage and another hand painted warp on the loom. I’m hoping to be able to weave more with each passing week.